Onboard and Setup Invisible Fence® GPS Collar
How to Onboard and Setup My Invisible Fence® GPS Collar
This article for information on how to onboard and set up your Invisible Fence® GPS Collar.
Do not put your collar on the charging base until prompted during onboarding.
- Confirm that your phone is connected to your Wi-Fi. Please note that it must be a 2.4 GHz Wi-Fi network.
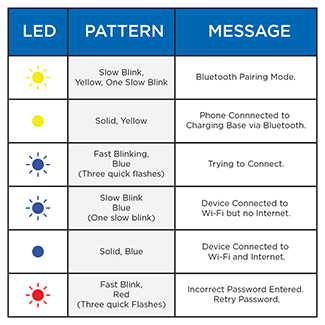
- Plug in the charging base. As you go through setup, the charging base may light up different colors. Reference the chart above for more information.
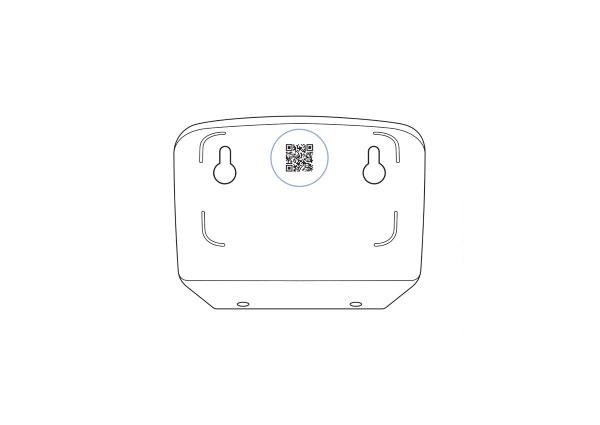
- Open the Invisible Fence® App. You can scan the QR code on the back of the charger base to go to the app store if you don’t already have it downloaded.
- Add product. To do so, you must allow the app to use Bluetooth. If you already had the app and you used the QR code, it may have automatically added your product.
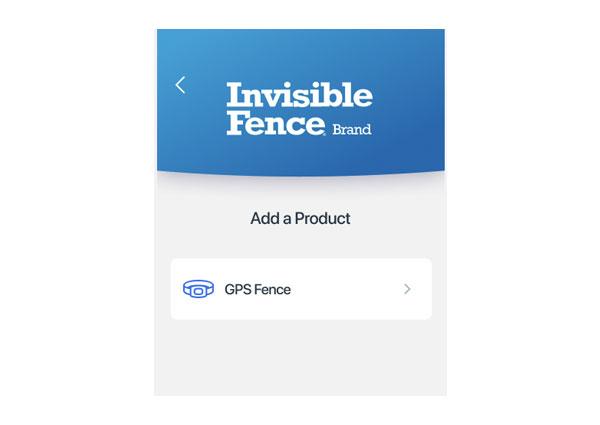
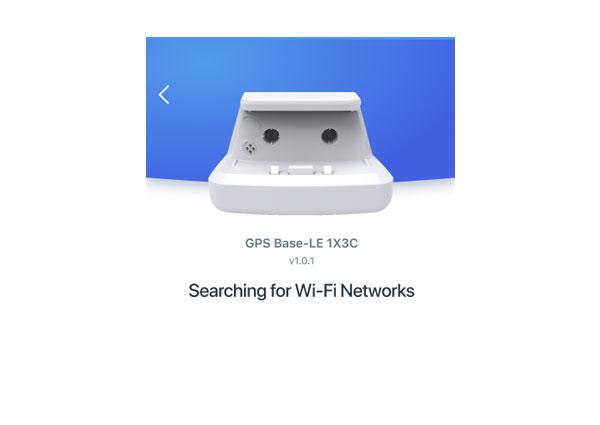
- The app will acknowledge it has found the base or charger and will begin searching for Wi-Fi networks. Choose your Wi-Fi from the list.
- Reminder: Must be a 2.4 GHz Wi-Fi.
- Enter the password for your Wi-Fi.
- Once the product is online, the app will immediately check for updates, and move on to updating if needed. This can take up to 20 minutes. Once the updates are complete, it will move to a success screen.
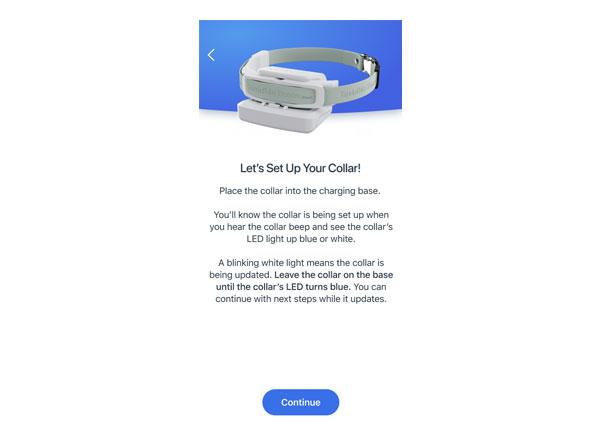
- Place the collar onto the charging base and follow the on-screen prompts to activate the collar. The collar will beep and the indicator light will change to either blue or white. If you do not see a light on your collar, make sure the collar is properly seated on the base.
- If the indicator light is white, the collar is being updated. NEVER remove the collar from the base while updating.
- Follow the on-screen prompts to add a pet.
- Once your onboarding is complete, you will be emailed a link to set up your subscription. For more information, visit How to Set Up a Subscription for My Invisible Fence® GPS Collars.
